EclipseでGradleプロジェクトを新規作成しjarを取得する手順です。
(確認環境:eclipse 4.8)
目次
| サンプル | 1.Gradleプロジェクトの作成 |
| 2.build.gradleでjarファイルを取得する |
1.Gradleプロジェクトの作成
1.Gradleプロジェクトを作成します。
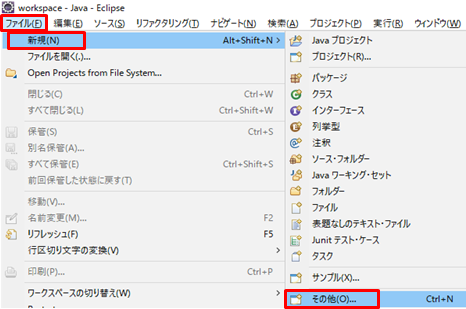
「ファイル」>「新規」>「その他」をクリックします。
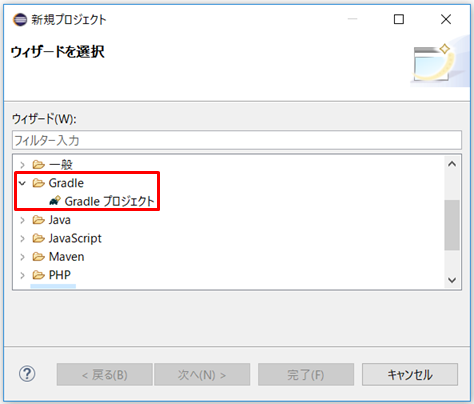
2.「Gradle」→「Gradleプロジェクト」をクリックし次へをクリックします。
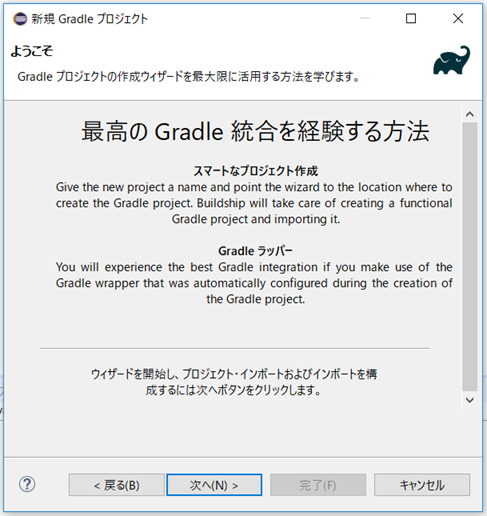
3.「次へ」をクリックします。
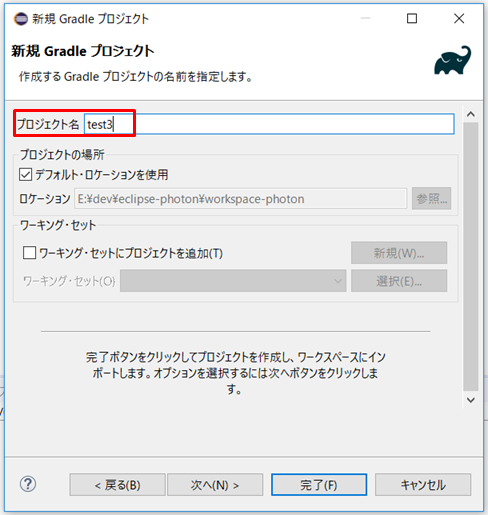
4.プロジェクト名を入力し次へをクリックします。
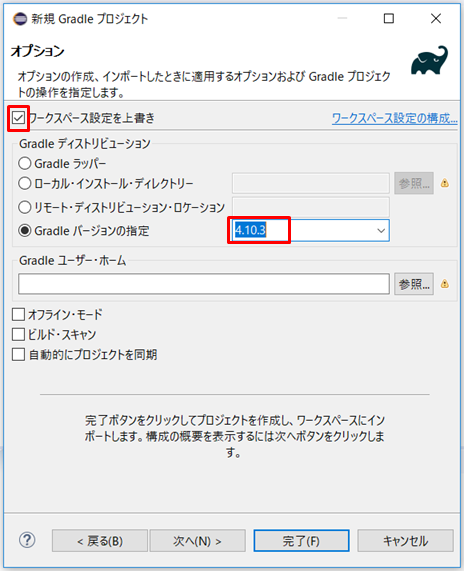
5.何もしない、または「ワークスペース設定を上書き」のチェックを外します。
チェックを外すとGradleバージョンを選択できます。次へをクリックします。
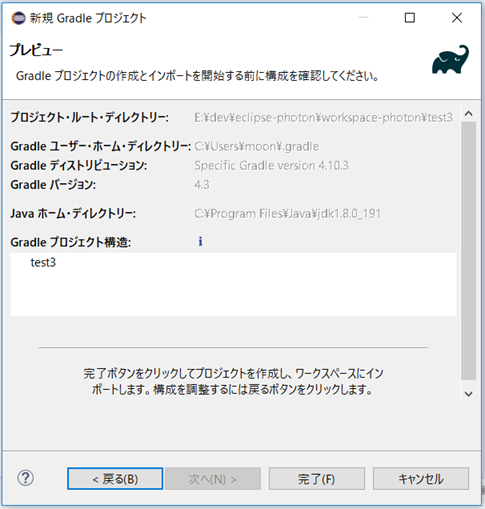
6.完了をクリックします。
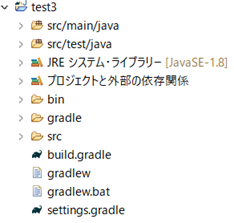
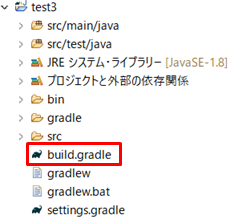
7.フォルダ構成は以下のようになります。
2.build.gradleでjarファイルを取得する
1.今回はサンプルとして、Jacksonというライブラリを取得します。
以下のMvnRepositoryのURLにアクセスします。https://mvnrepository.com/artifact/com.fasterxml.jackson.core/jackson-databind/2.9.7
2.Jackson Databindのページにある画面の赤枠の「Gradle」のタブをクリックしその下の枠にある文字列をコピーします。
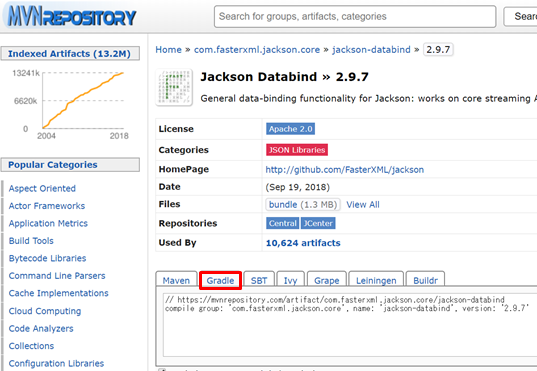
以下は、Gradleタブに記載されている文字列です。
// https://mvnrepository.com/artifact/com.fasterxml.jackson.core/jackson-databind
compile group: 'com.fasterxml.jackson.core', name: 'jackson-databind', version: '2.9.7'
3.Eclipseに戻り、build.gradleをダブルクリックして開きます。
4.上記手順でコピーした文字列を21,22行目のように貼り付けて保存します。
/*
 * This file was generated by the Gradle 'init' task.
 *
 * This generated file contains a sample Java Library project to get you started.
 * For more details take a look at the Java Libraries chapter in the Gradle
 * user guide available at https://docs.gradle.org/4.10.3/userguide/java_library_plugin.html
 */

plugins {
    // Apply the java-library plugin to add support for Java Library
    id 'java-library'
}

dependencies {
    // This dependency is exported to consumers, that is to say found on their compile classpath.
    api 'org.apache.commons:commons-math3:3.6.1'

    // This dependency is used internally, and not exposed to consumers on their own compile classpath.
    implementation 'com.google.guava:guava:23.0'

    // https://mvnrepository.com/artifact/com.fasterxml.jackson.core/jackson-databind
    compile group: 'com.fasterxml.jackson.core', name: 'jackson-databind', version: '2.9.7'

    // Use JUnit test framework
    testImplementation 'junit:junit:4.12'
}

// In this section you declare where to find the dependencies of your project
repositories {
    // Use jcenter for resolving your dependencies.
    // You can declare any Maven/Ivy/file repository here.
    jcenter()
}
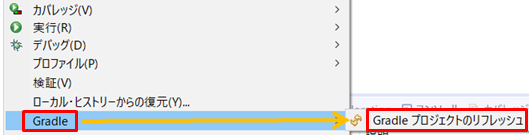
5.プロジェクトを右クリックして「Gradle」→「Gradleプロジェクトのリフレッシュ」をクリックします。jarがダウンロードされます。設定されるまで右下に進捗が表示されます。
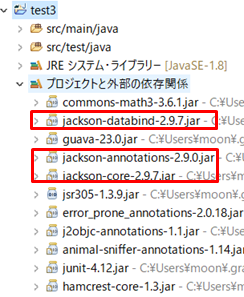
6.jarのダウンロードが完了後、「プロジェクトと外部の依頼関係」を開くと指定したjarが表示されます。指定したjar以外も追加される場合があります。
以下の図ではjackson-databind以外にも2つのjarが追加されました。
関連の記事
Eclipse JavaプロジェクトからMavenプロジェクトに変換
Eclipse Mavenプロジェクトを新規作成する(Java)
Eclipse Mavenでjarを取得(Java)